
Stackable rings styling gets tricky the moment your hands look “busy” instead of intentional, or when your stack spins, pinches, and snags on everything. The good news, most ring stacks don’t fail because you need more rings, they fail because the mix has no clear plan.
If you want stacks that look polished in real life, this guide breaks the process into a few practical choices: what metal story you’re telling, how to balance widths, where to place a “hero” ring, and how to keep everything comfortable.
I’ll also call out a few common myths, like “more rings = more style” or “mixing metals always looks random.” Usually it’s the opposite: fewer, better-placed pieces look more elevated, and mixed metals can be the cleanest look when you repeat a detail on purpose.
Start with a simple style goal (so your stack has a point)
Before you layer anything, decide what you want the stack to say. This one decision prevents the classic problem where every ring competes for attention.
- Minimal + clean: mostly thin bands, one small focal detail, lots of negative space.
- Classic: one “forever” style ring plus two to three supportive bands, often same metal family.
- Bold: wider bands, chunkier shapes, higher contrast, fewer total rings.
- Romantic/vintage: milgrain edges, engraved bands, antique-inspired stones, softer silhouettes.
A quick reality check, if you’re stacking for everyday wear, comfort matters as much as aesthetics. If it catches on sweaters or bangs on a laptop all day, you’ll stop wearing it, no matter how good it looks.
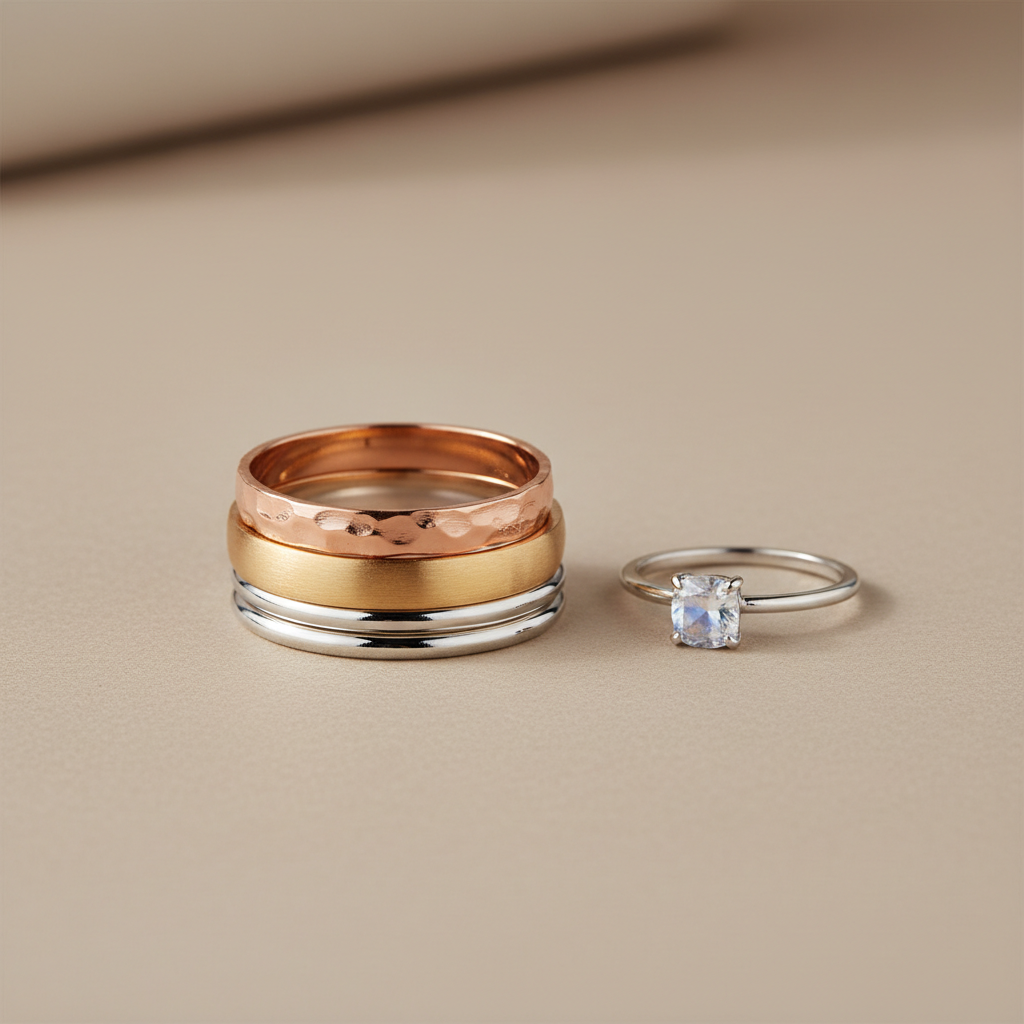
Balance the “visual weight”: widths, shapes, and textures
Most stacks look off because the widths and shapes all sit at the same intensity level. You want contrast, but not chaos.
A practical rule that works in most cases
- Pick one anchor (widest band or the only gemstone ring).
- Add one to two support bands that are slimmer and simpler.
- Finish with one texture detail (twist, beaded edge, hammered finish) to keep it from looking flat.
Texture is where stacks get “expensive-looking” quickly, but it’s easy to overdo. If every ring is braided, beaded, and engraved, the stack reads noisy.
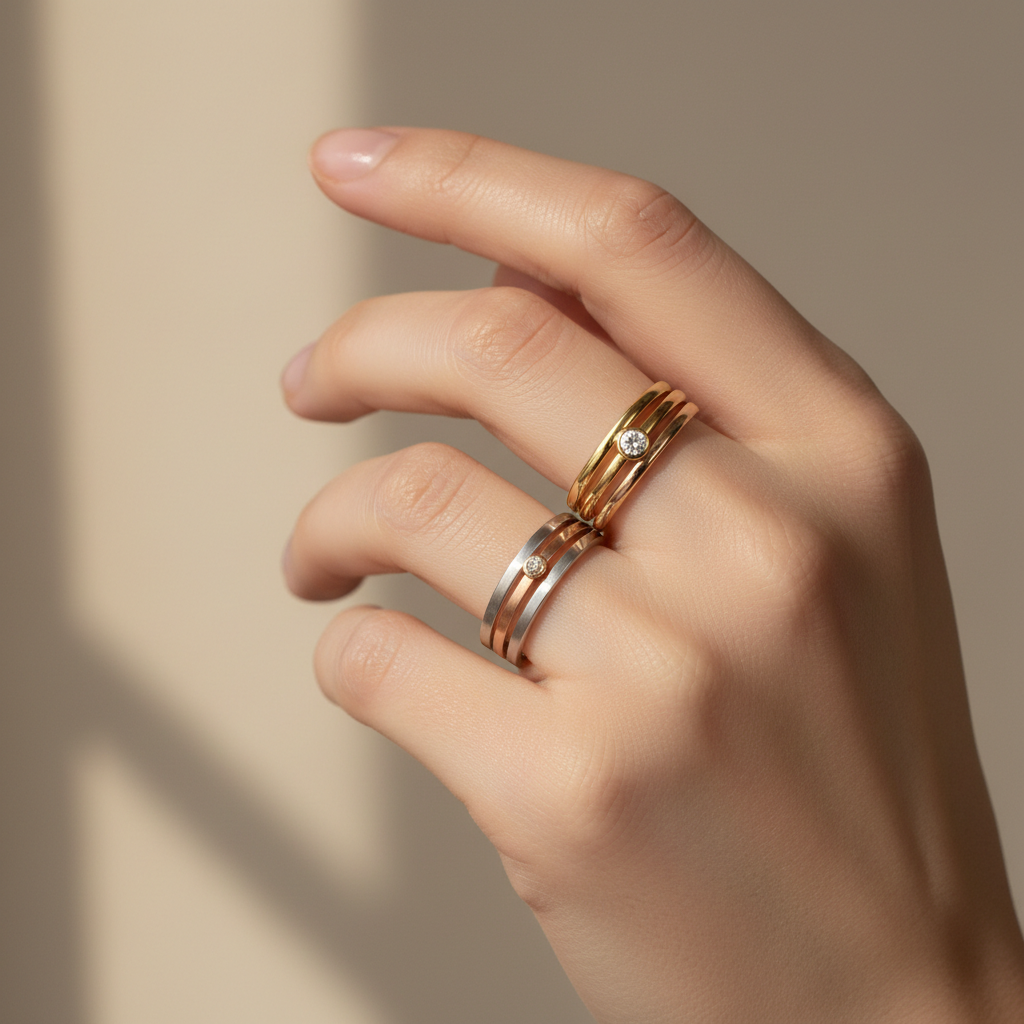
Metal mixing that looks intentional (not accidental)
Mixing metals is common in U.S. styling right now, but the stacks that work tend to follow a repeatable pattern. Think “echo,” not “anything goes.”
- Two-metal rule: mix two metals (gold + silver) and keep the third (rose) as a tiny accent, if at all.
- Bridge ring: include one ring that already combines metals, it makes the rest feel connected.
- Repeat a detail: if one ring has a white stone in a silver setting, echo that tone elsewhere.
According to GIA (Gemological Institute of America), different metals have different durability and care needs, which is worth remembering if you plan to wear the same stack daily. In practice, you’ll want to avoid stacking pieces that scratch easily right next to harder surfaces if you’re picky about finish marks.
Where to place rings on your hand (and why it changes everything)
Placement does a lot of work. You can make the same rings look either “styled” or “crowded” just by moving one piece to another finger.
- One statement per hand: keep one finger as the focal point, let the others stay lighter.
- Middle finger reads bold: great for an anchor band or a thicker signet-like ring.
- Index finger reads fashion: good for a single chunky ring, or one tidy mini-stack.
- Ring finger reads classic: best for your most sentimental ring plus subtle stack companions.
If you wear a watch, try keeping the stacked hand slightly quieter. It’s not a hard rule, but many outfits look more balanced that way.
A quick self-checklist: why your stack might feel “off”
If you’re unhappy with your current setup, run through this list before buying anything else. Most fixes are rearranging, not shopping.
- Do you have more than one focal ring on the same finger?
- Are all bands the same thickness with no anchor?
- Are textures competing, like three detailed rings stacked together?
- Do rings spin and flip, meaning you may need slightly snugger sizing or different shapes?
- Do you love each ring alone, but together they feel “costume” because the metal story clashes?
Comfort matters here too. If swelling happens during the day, or your knuckles are wider than the base of the finger, sizing gets complicated and it may be worth asking a jeweler for fit options.
Easy stack formulas (with a table you can copy)
These combos are designed for everyday wear, photos, and work settings without constant adjusting. Use them as templates, then swap your own rings in.
| Style goal | Formula | Best for | Common mistake |
|---|---|---|---|
| Clean minimal | 2 thin bands + 1 micro-detail ring | Office, daily wear | Adding too many textures |
| Classic | 1 anchor ring + 2 slim plain bands | Engagement/wedding styling | All rings same height, looks flat |
| Modern mixed metal | 1 two-tone ring + 1 gold band + 1 silver band | Casual to smart casual | No “bridge” piece, looks random |
| Bold but wearable | 1 medium-wide band + 1 thin band (same finger) + 1 single ring on another finger | Events, photos | Too many wide bands together |

Practical wearing tips: comfort, sizing, and keeping stacks in place
Pretty stacks that you constantly fix are not “your fault,” it’s usually physics. Rings slide because of tapering fingers, top-heavy stones, or slight size mismatch between bands.
- Vary the profiles: pairing a flat-edge band with a rounded band can reduce spinning.
- Mind the total height: tall prongs catch on knits; if you love a high-set stone, give it breathing room instead of crowding it.
- Don’t force tight fits: swelling can happen with heat, travel, salt, or exercise, if discomfort shows up, take a break and consider a pro sizing consult.
- Separate “soft” from “hard”: if you have a delicate finish, don’t sandwich it between rough-textured rings that rub all day.
According to American Academy of Dermatology Association (AAD), skin irritation can come from friction and contact reactions, which is relevant if stacked rings trap moisture or rub. If redness or itching keeps returning, it’s sensible to stop wearing the stack and check with a dermatologist or a jeweler about metal content.
Key takeaways (so you can fix your stack in 5 minutes)
- Pick one anchor and build around it, not five “stars” fighting each other.
- Use contrast in width and keep textures selective.
- Mixed metals look best when you repeat a detail or include a bridge ring.
- Placement matters, one strong finger plus lighter accents often reads most polished.
- When comfort fails, it’s usually sizing or height, not style, adjust before you quit.
Conclusion: make your stacks look intentional, not accidental
Good stacking is less about owning a lot of rings and more about editing, one anchor, a couple supporting bands, and a clear metal story goes a long way. If you want a quick win, take your current rings, build one neat stack on a single finger, then move one ring to a different finger for balance, you’ll usually see the upgrade immediately.
If you’re testing new looks this week, pick one formula from the table and wear it for a full day, comfort and practicality will tell you what to tweak faster than a mirror will.
FAQ
- How many rings should I stack on one finger?
Most everyday stacks land well at two to four rings on one finger, depending on band width. If you’re using wider bands or a gemstone ring, fewer pieces usually look cleaner and feel better. - Can stackable rings styling work with an engagement ring?
Yes, and it often looks best when the engagement ring stays the anchor while the extra bands stay slim. If the setting sits high, leave a little space so prongs don’t scrape neighboring rings. - Is it okay to mix gold and silver rings?
It can look very intentional when you repeat tones or use a two-tone “bridge” ring. If the mix feels random, reduce to two metals and keep the rest consistent. - Why do my stacked rings spin around?
Spinning usually comes from slightly loose sizing, top-heavy rings, or smooth bands that slide easily. Trying a snugger fit, mixing band profiles, or moving the anchor to a steadier finger can help. - Do stackable rings scratch each other?
They can, especially when textures rub or when one ring has sharper edges. If you care about keeping finishes pristine, rotate combinations and avoid sandwiching delicate surfaces between rough rings. - What stack looks professional for work?
A clean combo tends to read most professional: one simple anchor plus one to two thin bands in the same metal family. Keep stones smaller and avoid tall settings if you type or handle papers all day. - How do I style stackable rings with short fingers?
Thinner bands, more negative space, and avoiding multiple wide bands on one finger usually elongate the look. A single vertical focal detail, like a petite marquise shape, can also help visually.
If you’re trying to build a stack that feels cohesive without buying a dozen trial pieces, it can help to start with one anchor ring you genuinely love, then add two supporting bands in a planned width mix, if you want, tell me the metals and ring types you already own and I can suggest a few stack formulas that fit them.